- Log on to BuildWitt Improve
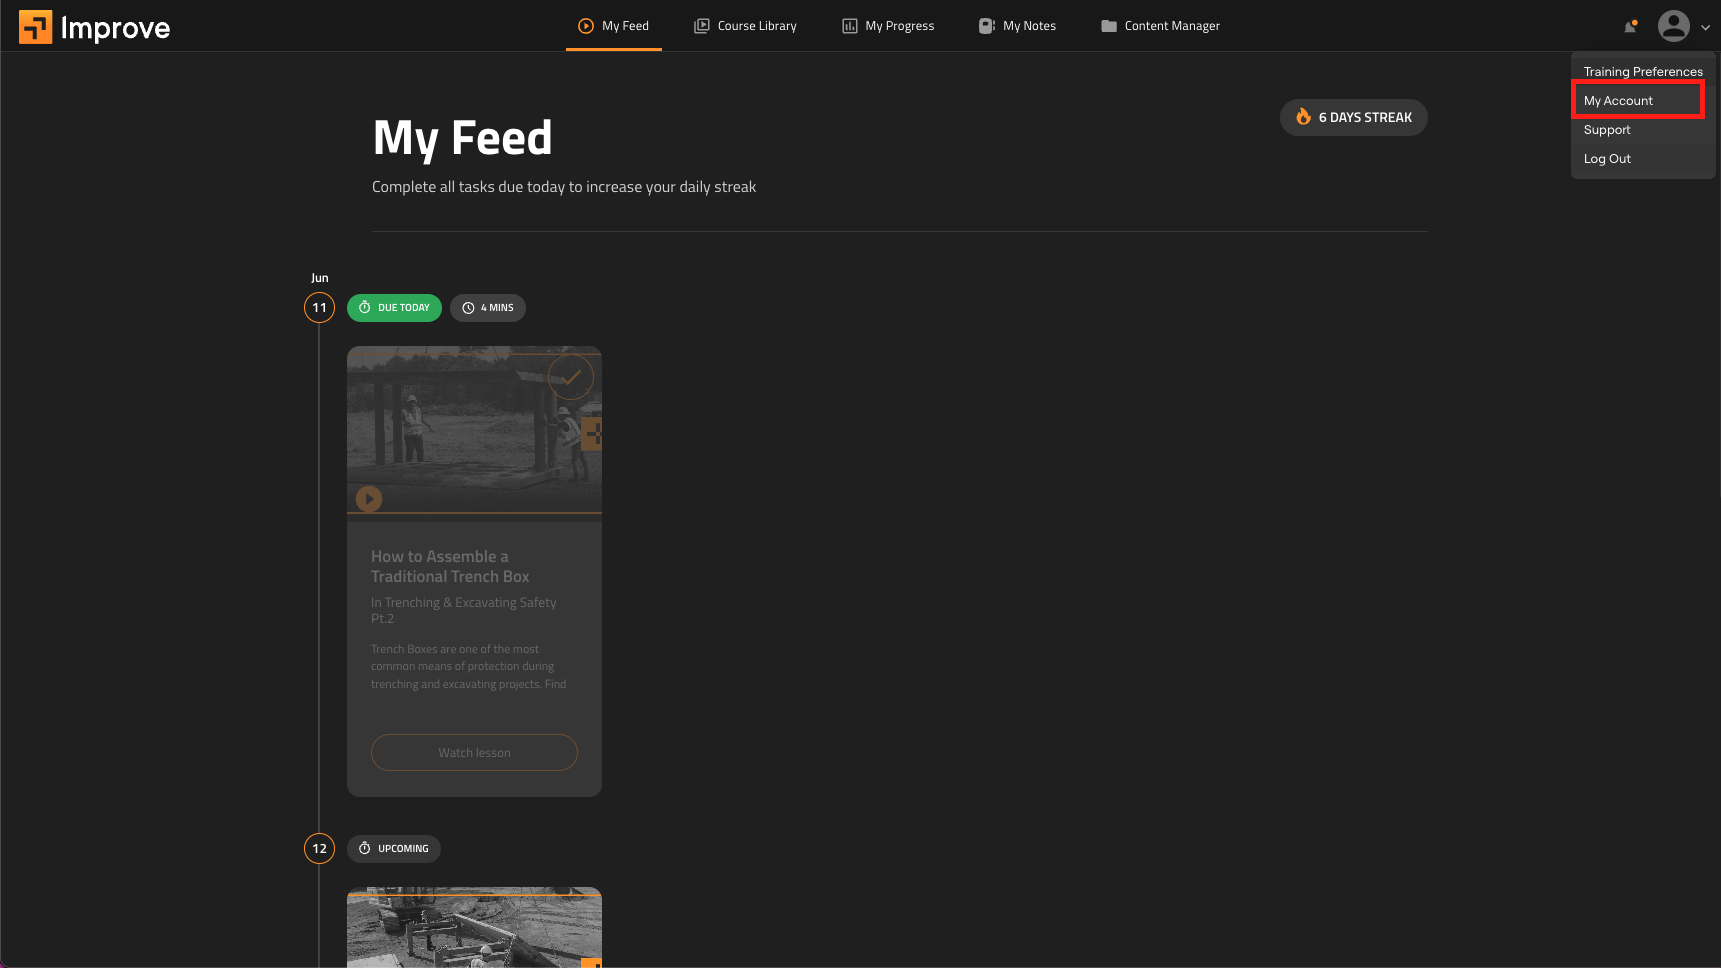
- Click on the top right profile icon, then click on "My Account"
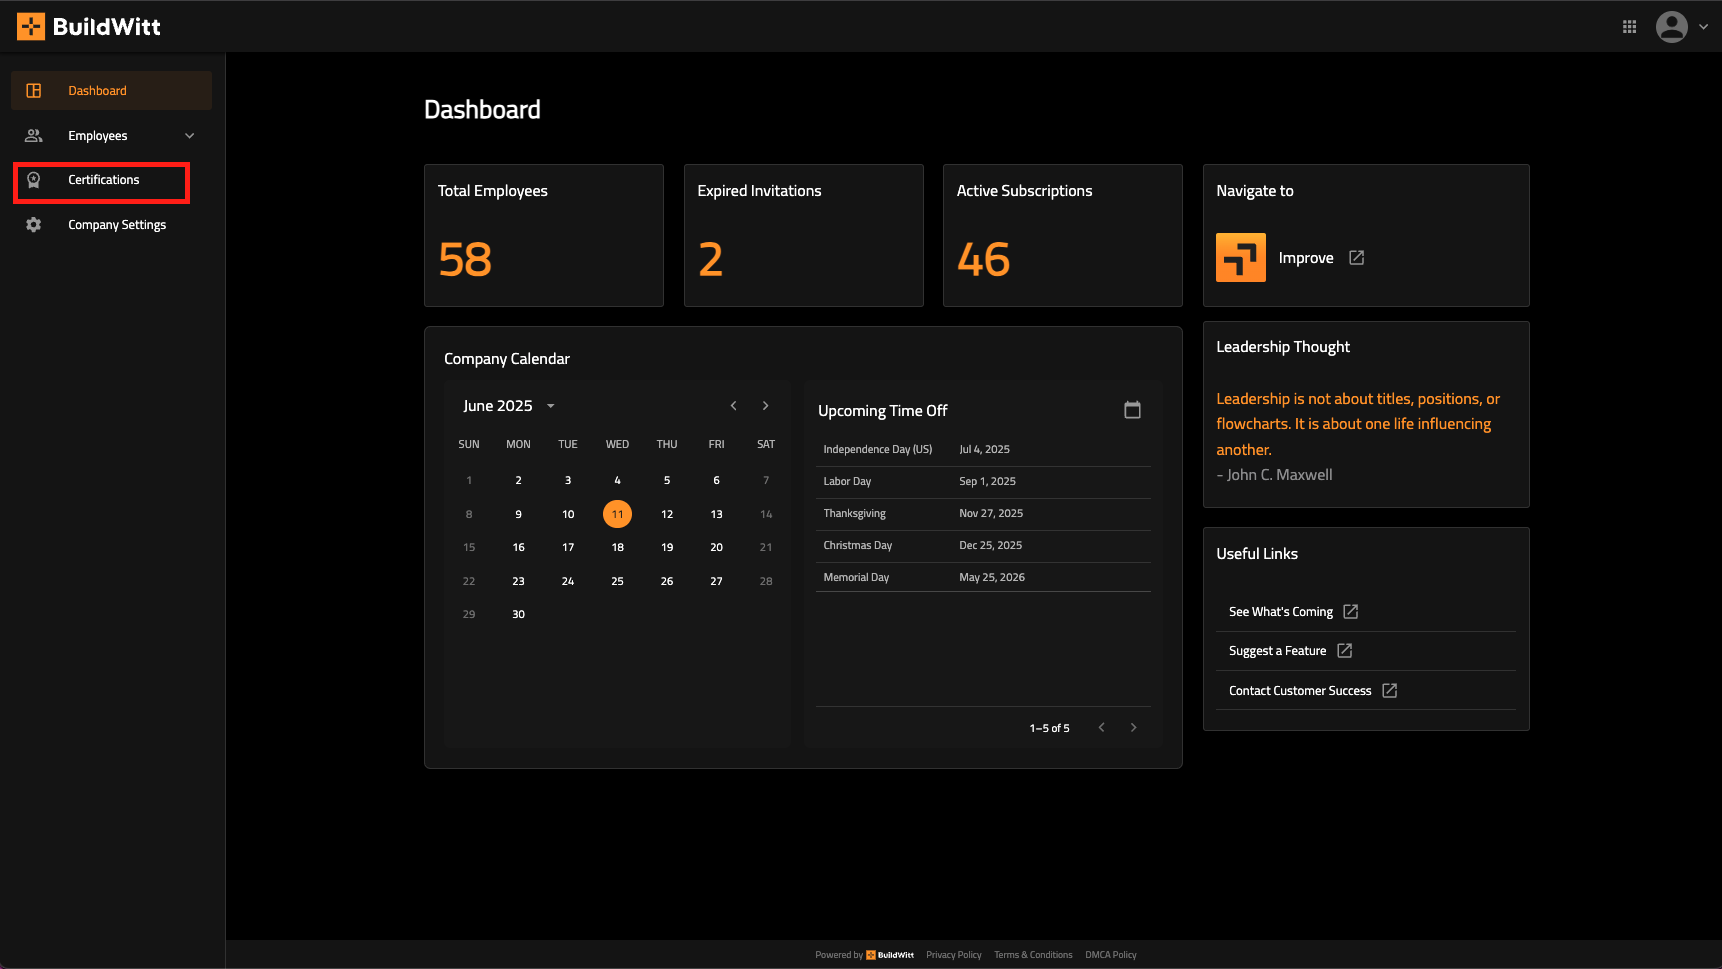
- When it takes you to BuildWitt Account, click on the "Certifications" tab on the left side
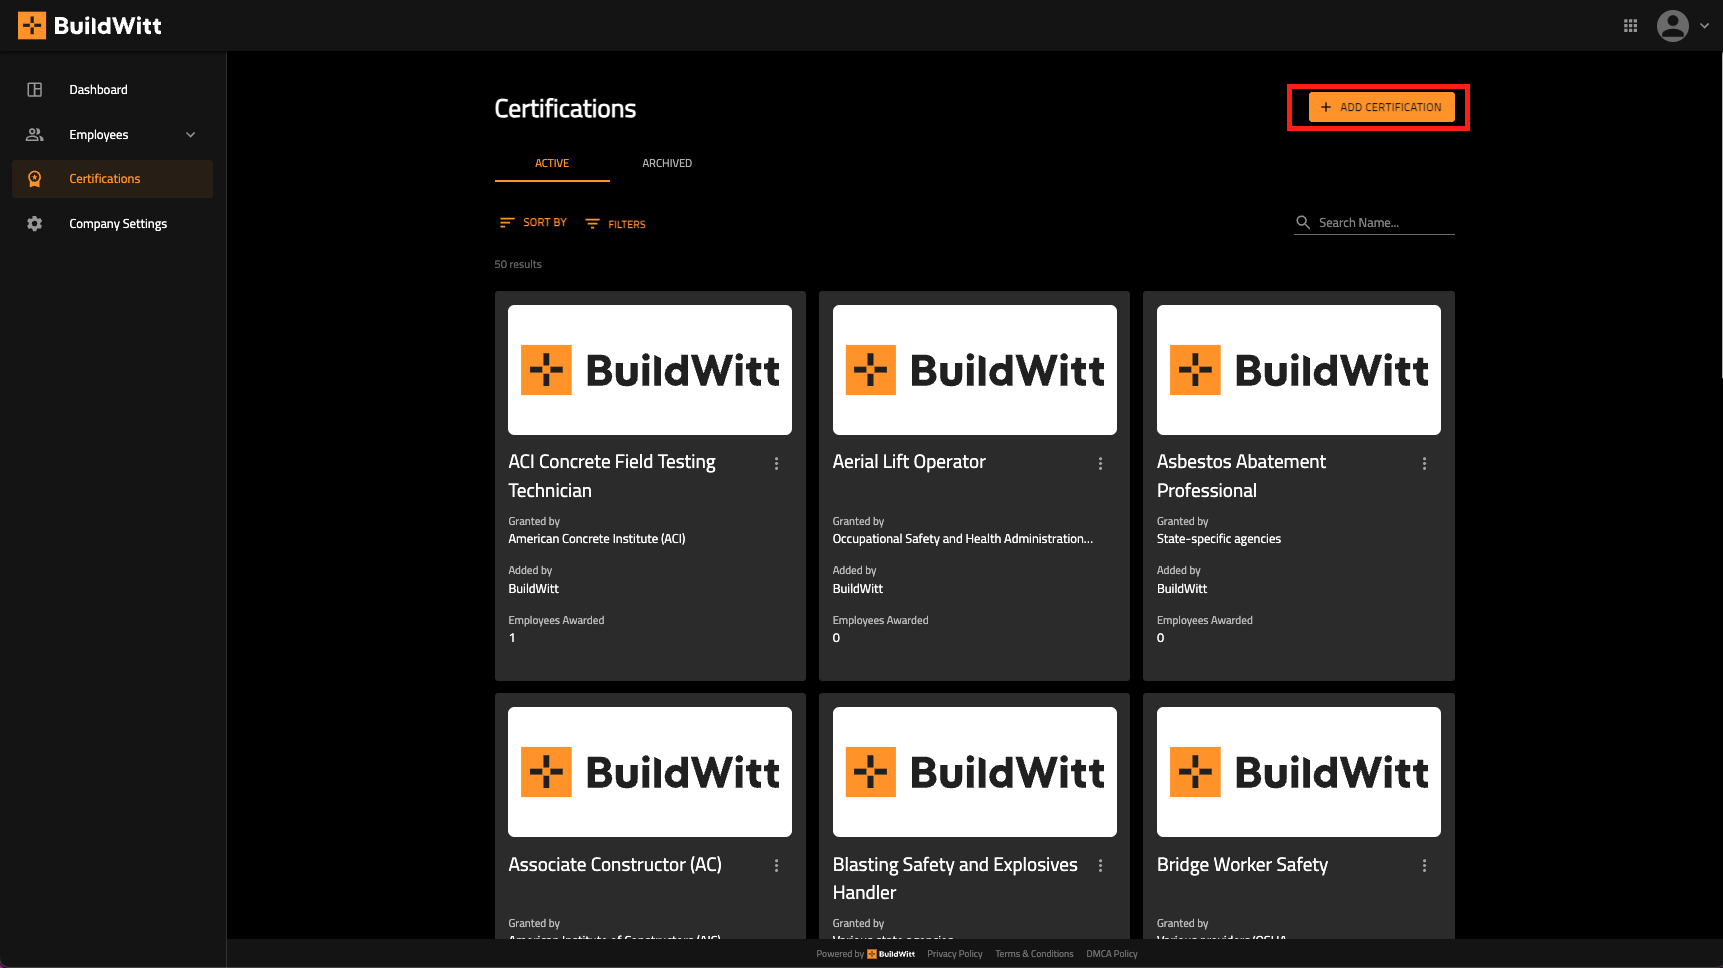
- When you are on the Certifications screen, click on "Add Certification" on the top right
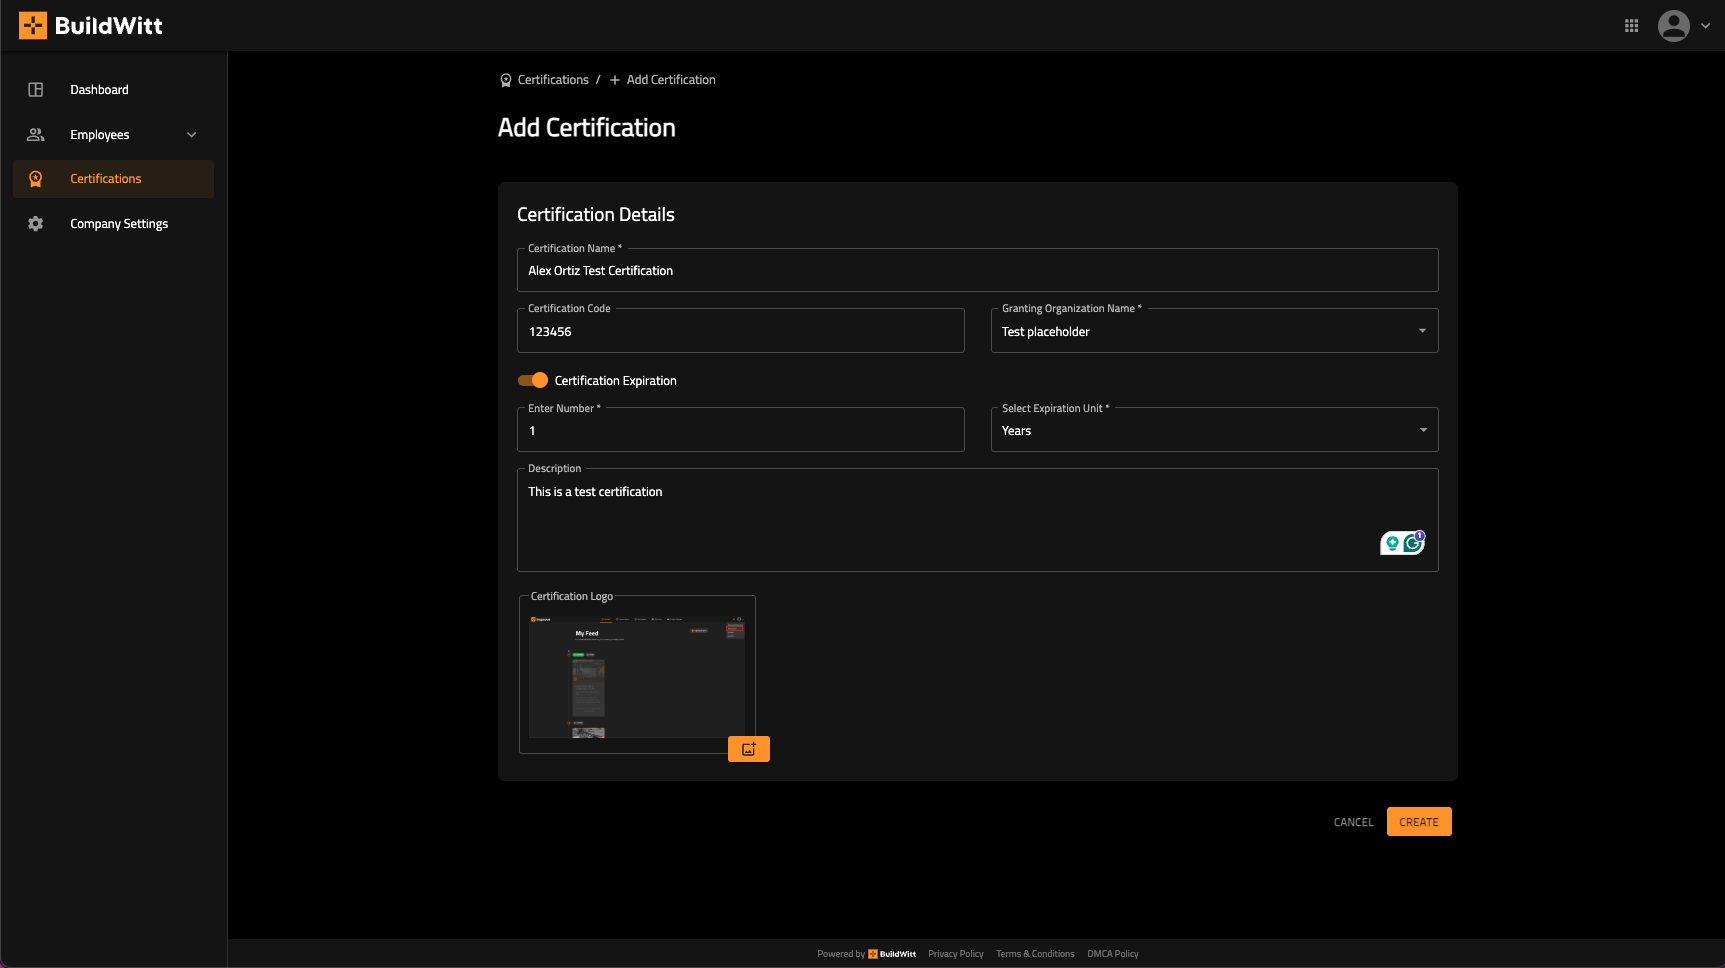
- In the next modal, fill out the corresponding information that you need for your certification.

-
-
- Fill out the Certification Name
- Certification code (if there is a corresponding one)
- Granting Organization name (be sure to put the correct organization name here)
- Certification Expiration (can be set to a number of days, months, years)
- Place a description for the certification
- Place a corresponding logo for the Certification if wanted
- Press "Create" when you fill in all the above information.
-
-
- When you have filled out all the information and created your certification, you will have the option to assign it now, or do it later.
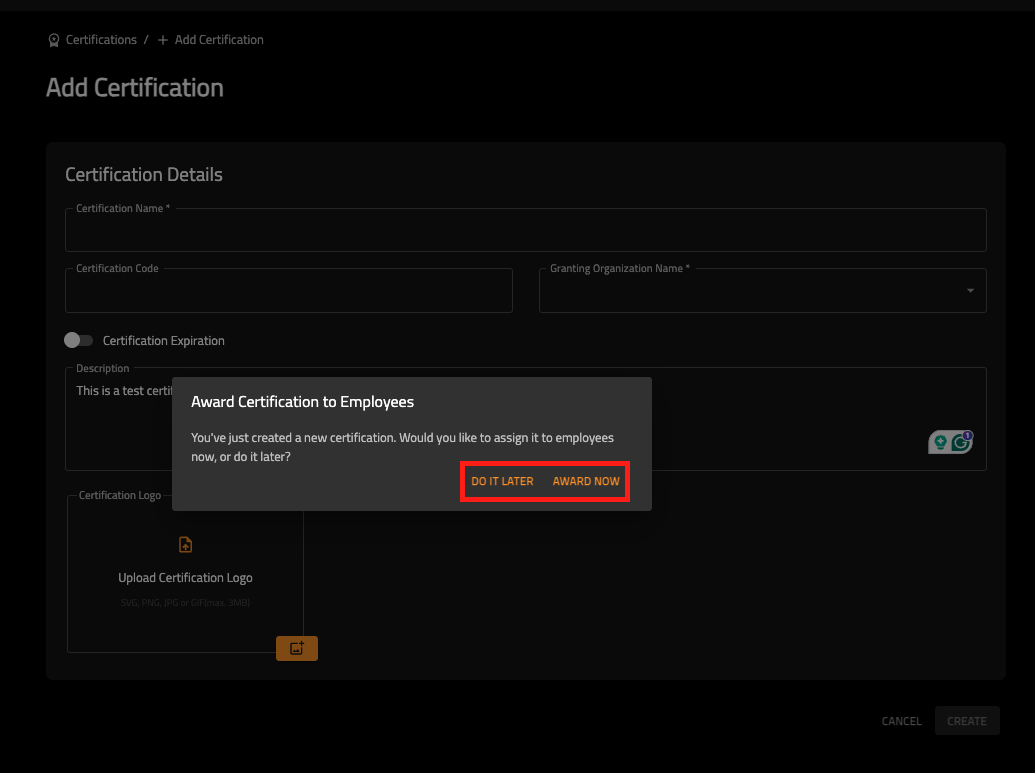
- You have successfully created your Certification!
English