Skip to content
English
  • There are no suggestions because the search field is empty.

Content Creation (Admin)

Creating a Course in Content Manager

Creating a Course in Content Manager

  1. Log in to train.buildwitt.com on desktop.
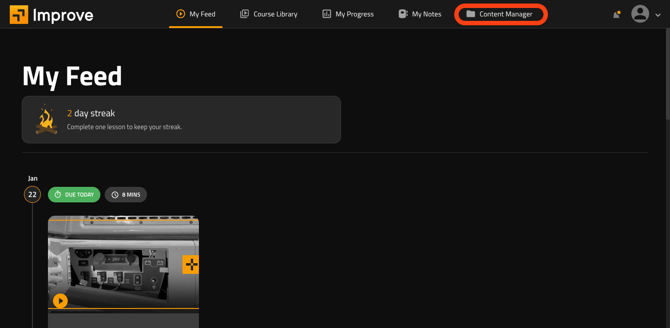
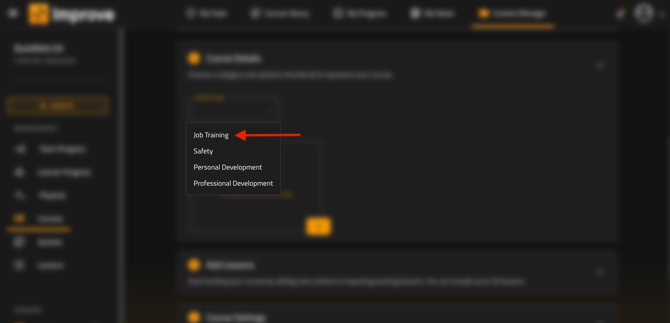
  2. Click on Content Manager from the top of your screen. This is an ADMIN function, requiring the user be an Administrator in BuildWitt Improve in order to access Content Manager and also when creating content.

       3. Click the “+ Create” button on the top of the left side menu options.

        4. Click Course from the options provided.

        5. Under Course Information, input your Title (required). You can also add a description (optional) in              the box below the Title box.

        6. Go to the next box, Course Details, and select your Content Type from the dropdown menu. You                can also optionally select Work Categories and Job Categories in their respective drop down boxes.


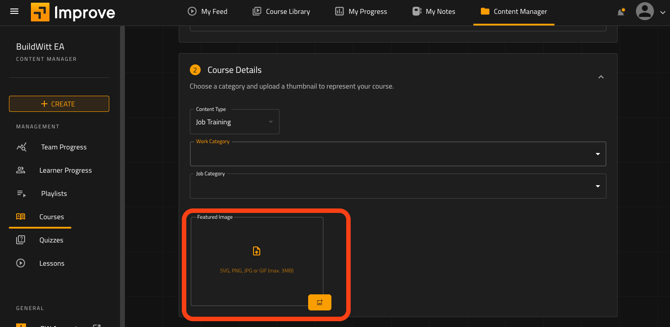
        7. You will need to upload a Featured Image to be tied to your course, using an SVG, PNG, JPG, or GIF          file (max 3MB).

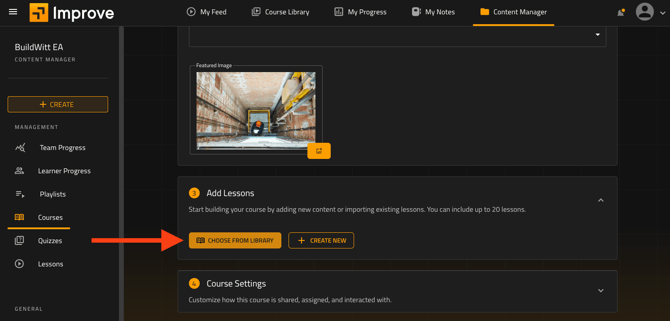
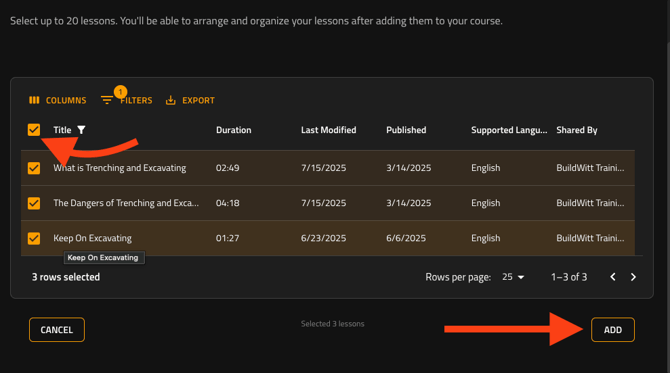
        8. You can now add Lessons within the course in the next box, choosing from the BuildWitt Improve            Library, or creating your own.

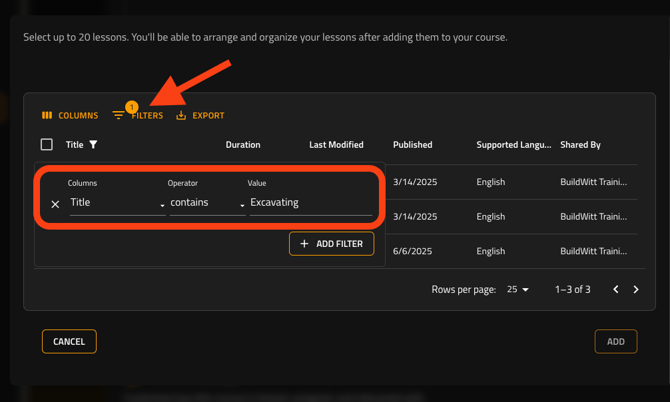
                  1. Click Choose from Library

                 2. Select up to 20 lessons from within this screen.

                3. You can select the filter button at the top of the lesson list to drill down on pertinent  lessons.                  For example, you can type in “Excavating”, and see content directly related to excavation. 

                4. Select your lessons and scroll down, then click on “ADD”.

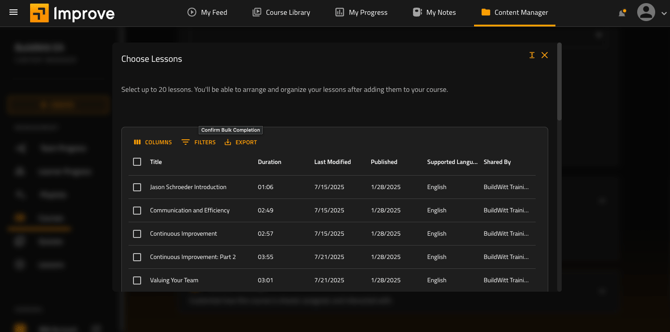
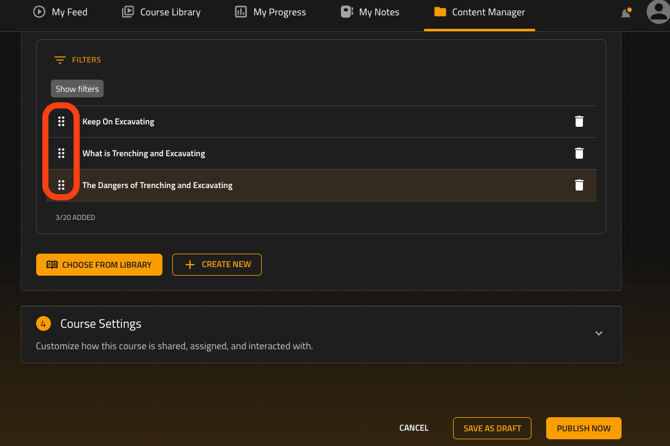
                5. You also have the option to select the order of Lessons by selecting the six boxes to the left of                  the title, and dragging them up or down.


        9. You can now navigate to Course Settings and toggle: 
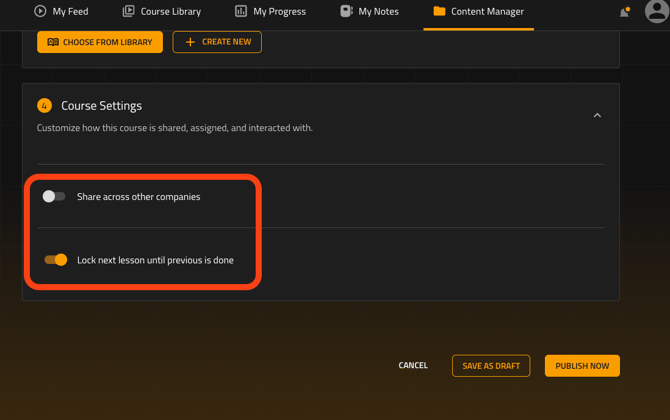
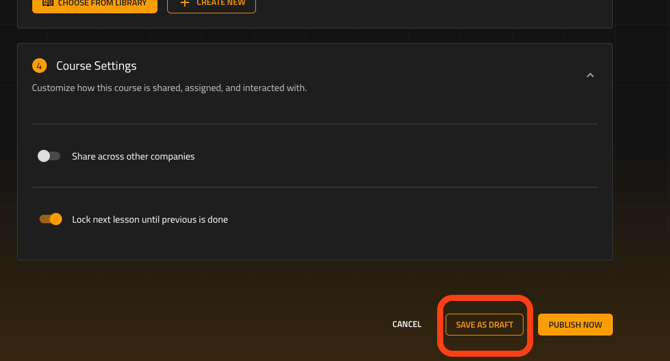
  1. “Share across other companies”. This option makes your content publicly visible to all other BuildWitt Improve customers.
  2. “Lock next lesson until previous is done.” This option will force users to complete lessons before moving on to the next available lessons within your created Course in the intended sequence.

        10. Click “SAVE AS DRAFT”.

        11. Your Course is now saved, and you are now required to click “PUBLISH NOW”. A popup will tell                 you this is completed, and if you scroll to the top of your screen, a green badge saying “Published”               will be present barring any errors. Congratulations, you’ve just created a course!

///////////////////////////////////////////////////////////End/////////////////////////////////////////////////////